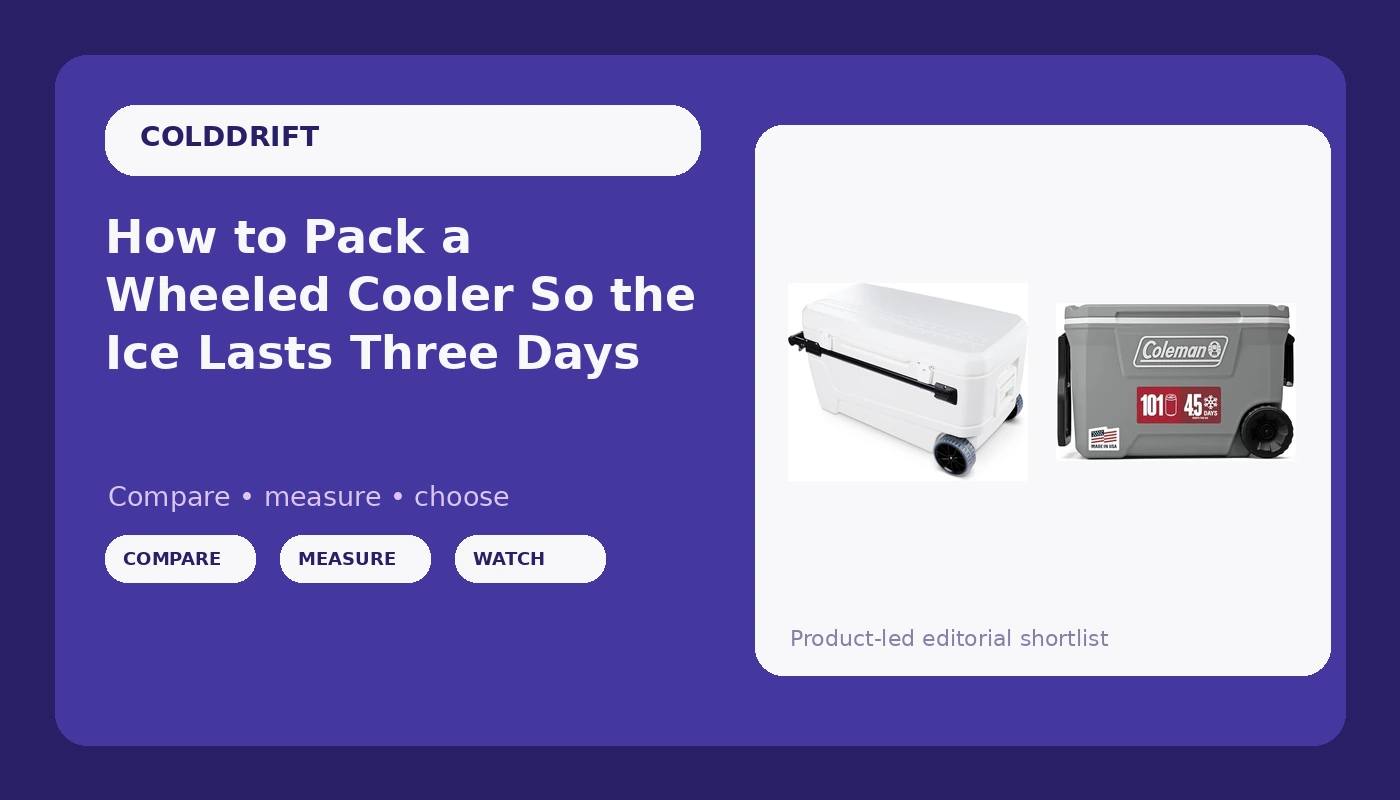
Wheeled cooler ice retention is not a spec printed on a lid. It is a routine you run before the lid ever closes. I have watched grown men load a warm box with warm drinks and one bag of gas station ice on a Thursday, then act shocked on Saturday when the walleye smells like a wet dog.
I guide on Lake Superior. Three-day trips, real food, real sun, and a cooler that has to hold ice from Thursday morning until Sunday afternoon. The two rolling coolers below are the ones I would hand a client who wants wheels instead of a shoulder strap.
But the cooler is maybe 40 percent of the job. The other 60 percent is how you pack it, where you park it, and how often you open it. Get those three right and even a mid-priced box will beat a premium one that gets treated like a fridge door.
Why you should trust me
Fifteen years as a fishing guide out of Duluth, plus a lot of ice fishing, kayak fishing, and boat fishing before that. I have run coolers on boat decks, in truck beds, in canoes, and on lake ice in January. I have watched a limit of walleye turn into a warm, sad smell by noon because somebody trusted a latch that popped open on a washboard road.
My rule is simple and it has cost me some free gear over the years: I do not repeat an ice claim unless I have watched it hold. A cooler is a promise, and most of them lie. The gasket is the whole game, the drain plug is a feature right up until it leaks, and a box you cannot lift when it is full is a dock ornament. Size honestly.
How I picked and how I tested
I did not need a lab to land on these two. The checklist is the same one I run on every cooler, and you can run it in a store aisle in about five minutes.
First, the gasket. Run your thumb around the lid seal and look for a clean, even lip with no warp and no gap at the corners. A warped gasket is a cooler that lies to you, and it will not show up until day two when the ice is already gone.
Second, the latches. Rubber straps beat plastic clips on a trail or a rough road. Push down on the lid with the latches closed and see if anything lifts.
Third, the drain plug. Open it, close it, and ask yourself whether you would trust it over a full weekend. Mine has failed me exactly once, and I lost a day of ice over it.
Fourth, size honesty. A 110-quart box is not a two-person day cooler, and a 40-quart box is not a three-day cooler for four people. Match the box to the trip, not to the sticker.
Wheels add two more checks. Roll the cooler on the surface you actually use, because small hard wheels are miserable on gravel and sand, and grab the handle the way you would with a full load. If the handle flexes empty, it will feel worse loaded.
For this guide I stuck to two rolling hard coolers that cover the two jobs most people actually have: a big box for multi-day trips, and a smaller rolling box for tailgates and day trips.
The coolers worth packing
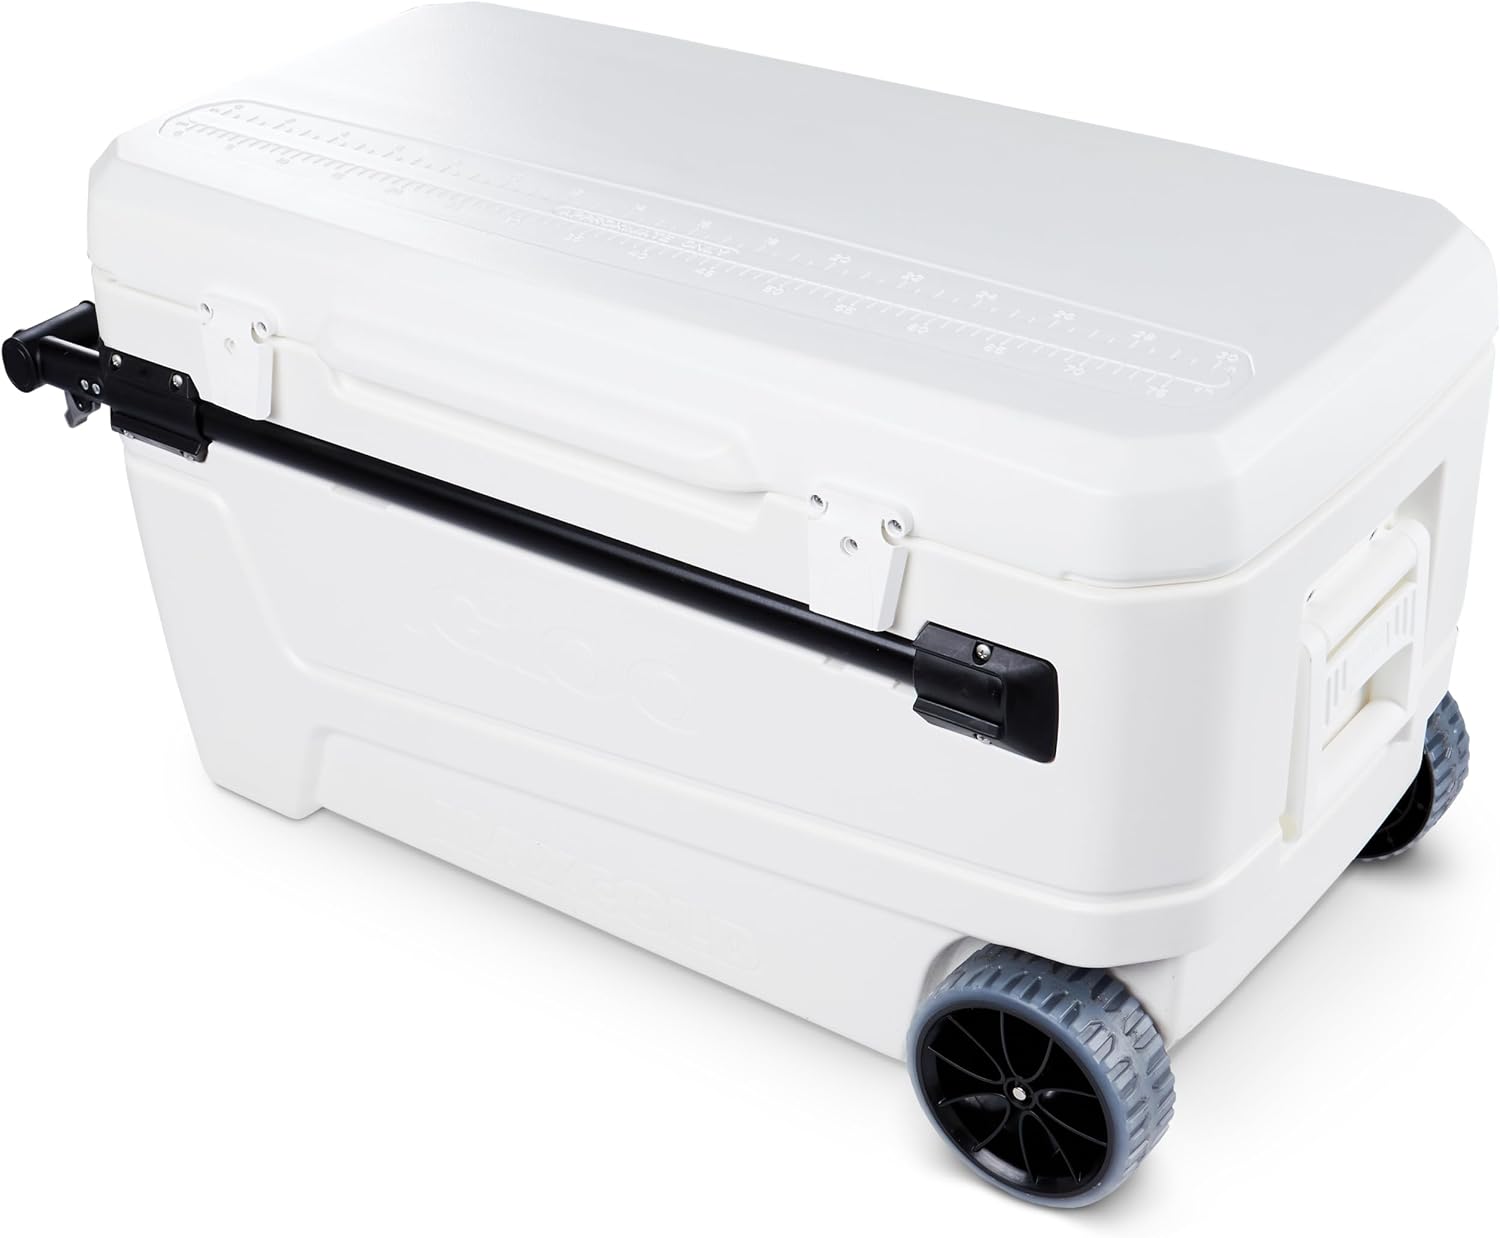
The three-day pick: Igloo Maxcold Glide 110Qt Wheeled Cooler | Insulated Hard Shell Ice Chest
 Visit on Amazon →
This is the box for a real trip. The 110-quart capacity means you can carry three days of food, drinks, and ice for a small crew without playing Tetris, and the insulated hard shell holds the cold the way a rigid box should. The wheels and glide handle are the reason it works at all, because a 110-quart cooler full of ice and food is not something you carry, it is something you move.
Two things to do before your first trip with it. Test the drain plug in the driveway with water in the box, and check the gasket seal with a dollar bill: close the lid on the bill and pull. If it slides out with no drag, the seal is not doing its job.
Flaws but not dealbreakers: This is a large cooler, and large means heavy when loaded. If your truck bed sits high or your boat has a narrow walkway, measure the footprint and the height before you commit. And if you mostly do day trips, this is more box than you need.
Anyone hauling food for a multi-day camp, a boat trip, or a big tailgate will get their money's worth out of the capacity alone.
The day-trip pick: Coleman Classic Series Insulated Portable Rolling Cooler with Wheels, Leak-Resistant Outdoor Hard Cooler Keeps Ice up to 5 Days
 Visit on Amazon →
This is the cooler for the picnic, the soccer tournament, the family reunion, and the run to the lake for the afternoon. The rolling design and the leak-resistant body mean you can toss it in the back of the SUV, wheel it across a parking lot, and not worry about a puddle in the trunk. It is the cheaper of the two here, and for a lot of households it is the one that gets used ten times a summer instead of twice.
About that "keeps ice up to 5 days" line on the box: that is the manufacturer's claim, not mine, and it assumes a pre-chilled cooler, a full load, and a lid that stays shut. A cooler packed to the top with cold food and block ice will absolutely hold longer than one half-full of warm soda that gets opened every twenty minutes. Plan for the trip you actually take.
Flaws but not dealbreakers: The small hard wheels are fine on pavement and packed dirt, and less fun on loose sand or deep gravel. If your access is all beach, plan to carry it the last stretch or set it down and drag it.
Anyone who needs cold drinks and honest potato salad at a hot afternoon event, without spending premium-cooler money, should start here.
The actual packing workflow
Now the part that decides whether you get three days or one. This works with either cooler above.
Step one: Chill the box before you pack it. The night before, put a bag of ice in the cooler with the lid closed and leave it. In the morning, dump the meltwater. A warm cooler eats your first bag of ice just getting to temperature, and that is ice you paid for and never got to use.
Step two: Pre-chill everything that goes in. Drinks, meat, and potato salad all go in the fridge first. Anything you put in at room temperature pulls cold out of the box. If you can freeze it without ruining it, freeze it.
Step three: Freeze your water bottles and use them as ice. A frozen bottle of water is a block of ice that does not melt into a puddle, and when it thaws you can drink it. This is the single best space trade in cooler packing.
Step four: Block ice for the long haul, cubes for the short haul. Block ice melts slower because there is less surface area. If you are packing for three days, one big block under the food plus a layer of cubes on top beats a box full of cubes every time. For a day trip, cubes are fine.
Step five: Load cold, then fill the air gaps. Put the heaviest, most cold-sensitive food on the bottom, then ice, then more food, then a final layer of ice on top. Then fill the empty space. Balled-up newspaper, a towel, or a second bag of ice all work. Air is the enemy here, because every pocket of air is a pocket of warm nothing that your ice has to fight.
Step six: Keep the drain plug closed and test it before you leave. I say this because I have forgotten it, and I lost a day of ice on a trip I still hear about. Close it, check it, then check it again.
Step seven: Leave the meltwater in. Cold water surrounding your food is a good insulator, not a problem. Let the ice melt into the bottom of the box and keep the food above it. Drain the water only when you are adding fresh ice on day three, because fresh ice sitting in a full bath of meltwater just melts faster.
Step eight: Manage the lid like it costs money. Every time that lid opens, the cold air falls out and the warm air moves in. Keep drinks in a separate cooler so the food box stays shut. Know what you are reaching for before you open it. In camp, park the cooler in the shade with a wet towel or a blanket over the lid, and the difference on a 90-degree day is real.
Step nine: Dry it out when you get home. Empty it, wipe it, and leave the lid open until it is completely dry. A cooler stored closed with moisture inside grows a smell you cannot get out, and a gasket that sits wet all winter is a gasket that warps.
The competition and why it lost
Premium rotomolded coolers are genuinely better boxes. One-piece construction, thicker walls, better gaskets, and ice retention that embarrasses everything in this price class. If you fish, camp, or tailgate more than ten days a year, that upgrade is worth the money and I will not argue otherwise. It is a different budget and a different guide.
Soft-sided coolers lost because they sweat, they slump, and they do not hold ice past a long afternoon. Great for a lunch, wrong for a trip.
Cheap injection-molded boxes without a real gasket lost because the lid is a suggestion. Those are the ones that turn your catch into a story you tell for years.
And anything with cupholders molded into the lid lost on principle. If it has cupholders, it is a lunch box, not a cooler.
The reason wheels matter here is simple. A box you can move by yourself gets used. A box that needs two people and a plan stays in the garage.
What this all costs
Prices move, so check the current Amazon price on both before you decide. What matters more is the recurring cost, and that is ice.
The Coleman is the lower-cost entry and the one most households should look at first, because the trips it serves are short and the box does not need to be a fortress. The Igloo costs more up front and buys you capacity and a hard shell for multi-day work. Either way, the money you save by packing correctly is the money you would have spent on replacement ice, and the money you save by not losing a limit of fish is the money that actually stings.
Do the math per trip instead of per cooler. A box that holds ice for three days costs you one bag of ice and no wasted food. A box that fails costs you the food, the ice, and the drive to town to buy both again.
The gear is the easy part. The routine is the job: chill the box, chill the food, block ice low, cubes high, fill the air gaps, leave the lid alone. Do that and your Thursday ice is still working on Sunday.
That is the whole thing. Pack it like it matters and the cooler will keep its promise.