Most people pack a cooler the way they pack a suitcase: throw everything in, dump a bag of ice on top, hope for the best. Then Saturday morning arrives and the ice is water and the walleye smells like a mistake. Learning how to pack a cooler is not complicated, but it is a sequence, and if you skip a step in the sequence, the whole thing falls apart.
I have been guiding on Lake Superior out of Duluth for 15 years. I have watched cheap coolers turn a full day's catch into a warm, sad smell by noon, and I have watched good ones hold ice from Thursday at 6 AM to Sunday afternoon with real food inside and real people opening the lid all weekend. The difference was never the logo on the front. It was the pre-chill, the ice ratio, and whether the gasket sealed clean and cold.
This guide is about the packing. The two coolers further down are here because they solve two specific carrying problems, not because a soft bag will ever out-ice a rotomolded box. Read the steps first, then pick the shape that matches how far you have to carry it.
Why you should trust me
I run a 3-day ice test on coolers every season. Nine units, 20 pounds of ice each, a temperature log that starts at 6 AM Thursday and ends Sunday afternoon. Same food load, same shade, same opening schedule. I keep the logs. When a manufacturer claims five days of ice, I want to see the numbers, because I have watched that claim die by noon on day two more times than I can count.
My rules are simple and they do not bend. No recommendation without the 3-day log. No bear-proof talk without a latch test. No "holds ice for days" without a temperature record. I have a client whose insulin needed a cooler that actually worked, and that trip ended whatever patience I had left for marketing copy.
I fish, camp, and tailgate more than 10 days a year, so I own both kinds of coolers: the heavy rotomolded box that lives in the boat and the light one that rides in the truck bed. Both have a job. Neither one is the right answer for every trip.
How I picked, and how I test ice
The 72-hour test is the whole basis for everything I say about a cooler. Twenty pounds of ice, a real food load, a log started at 6 AM Thursday and closed Sunday afternoon. The cooler sits in the same spot on the same deck, and it gets opened on a schedule so every unit takes the same hit. I write down the ice left, the water level, and whether anything in the load went soft.
Before a cooler ever gets to the ice test, it has to pass four checks:
- The gasket. Run a finger around the seal. It should sit flat and even with no warping or gaps. A warped gasket is a cooler that lies to you, and no amount of extra ice will fix it.
- The latches. Rubber straps beat plastic clips on a rough road. If a latch pops open on a washboard gravel road, that cooler is a box with an opinion.
- The drain plug. Test yours before the trip, not during. I learned that the hard way and lost a day of ice to it.
- The honest weight. A cooler you cannot lift when it is full is a dock ornament. Size it to what you can actually carry, not to what looks impressive in the store.
The two units below are not competing for the same job. One is a bag you carry over rocks and sand. One is a box you roll across a parking lot. Both are honest about what they are, which is more than I can say for most of what sits on a shelf.
Two coolers that fit this system
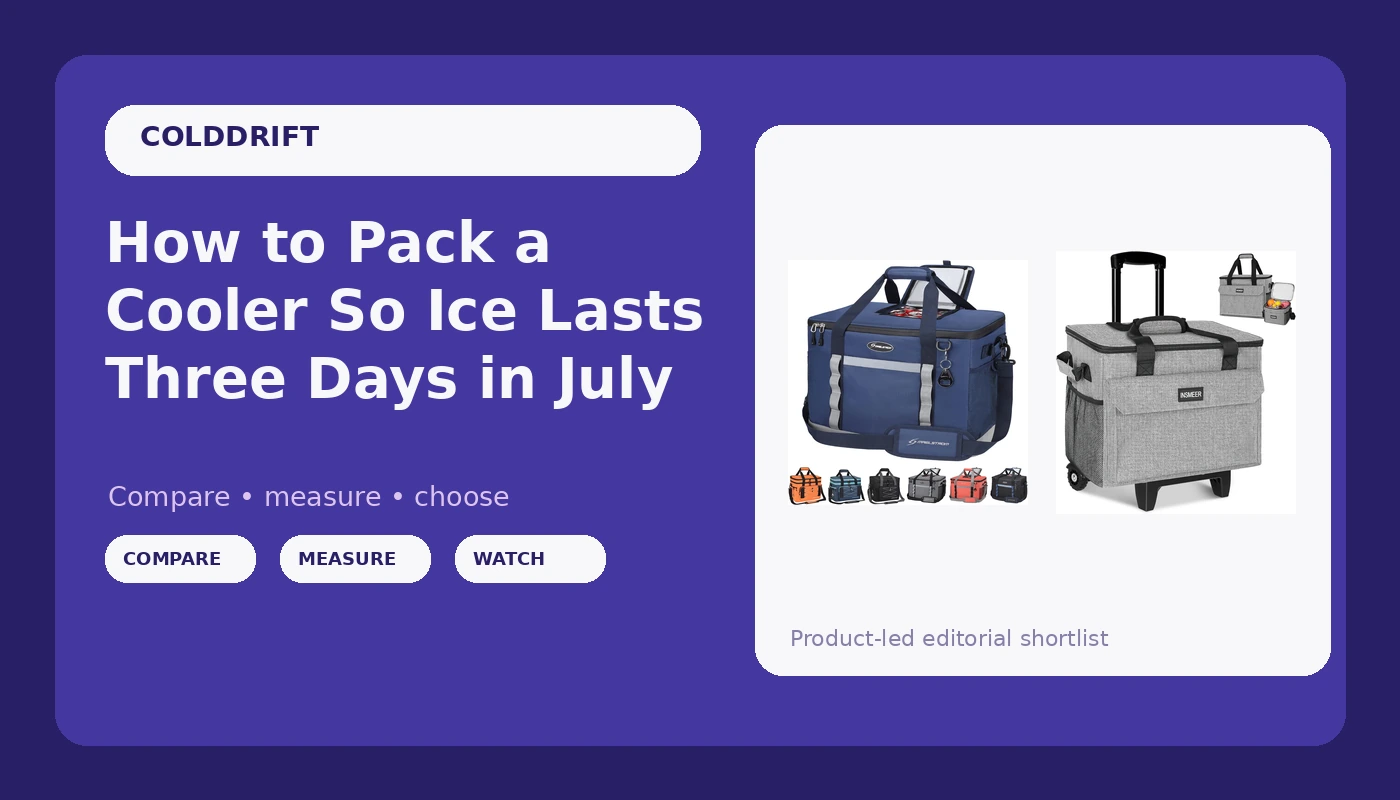
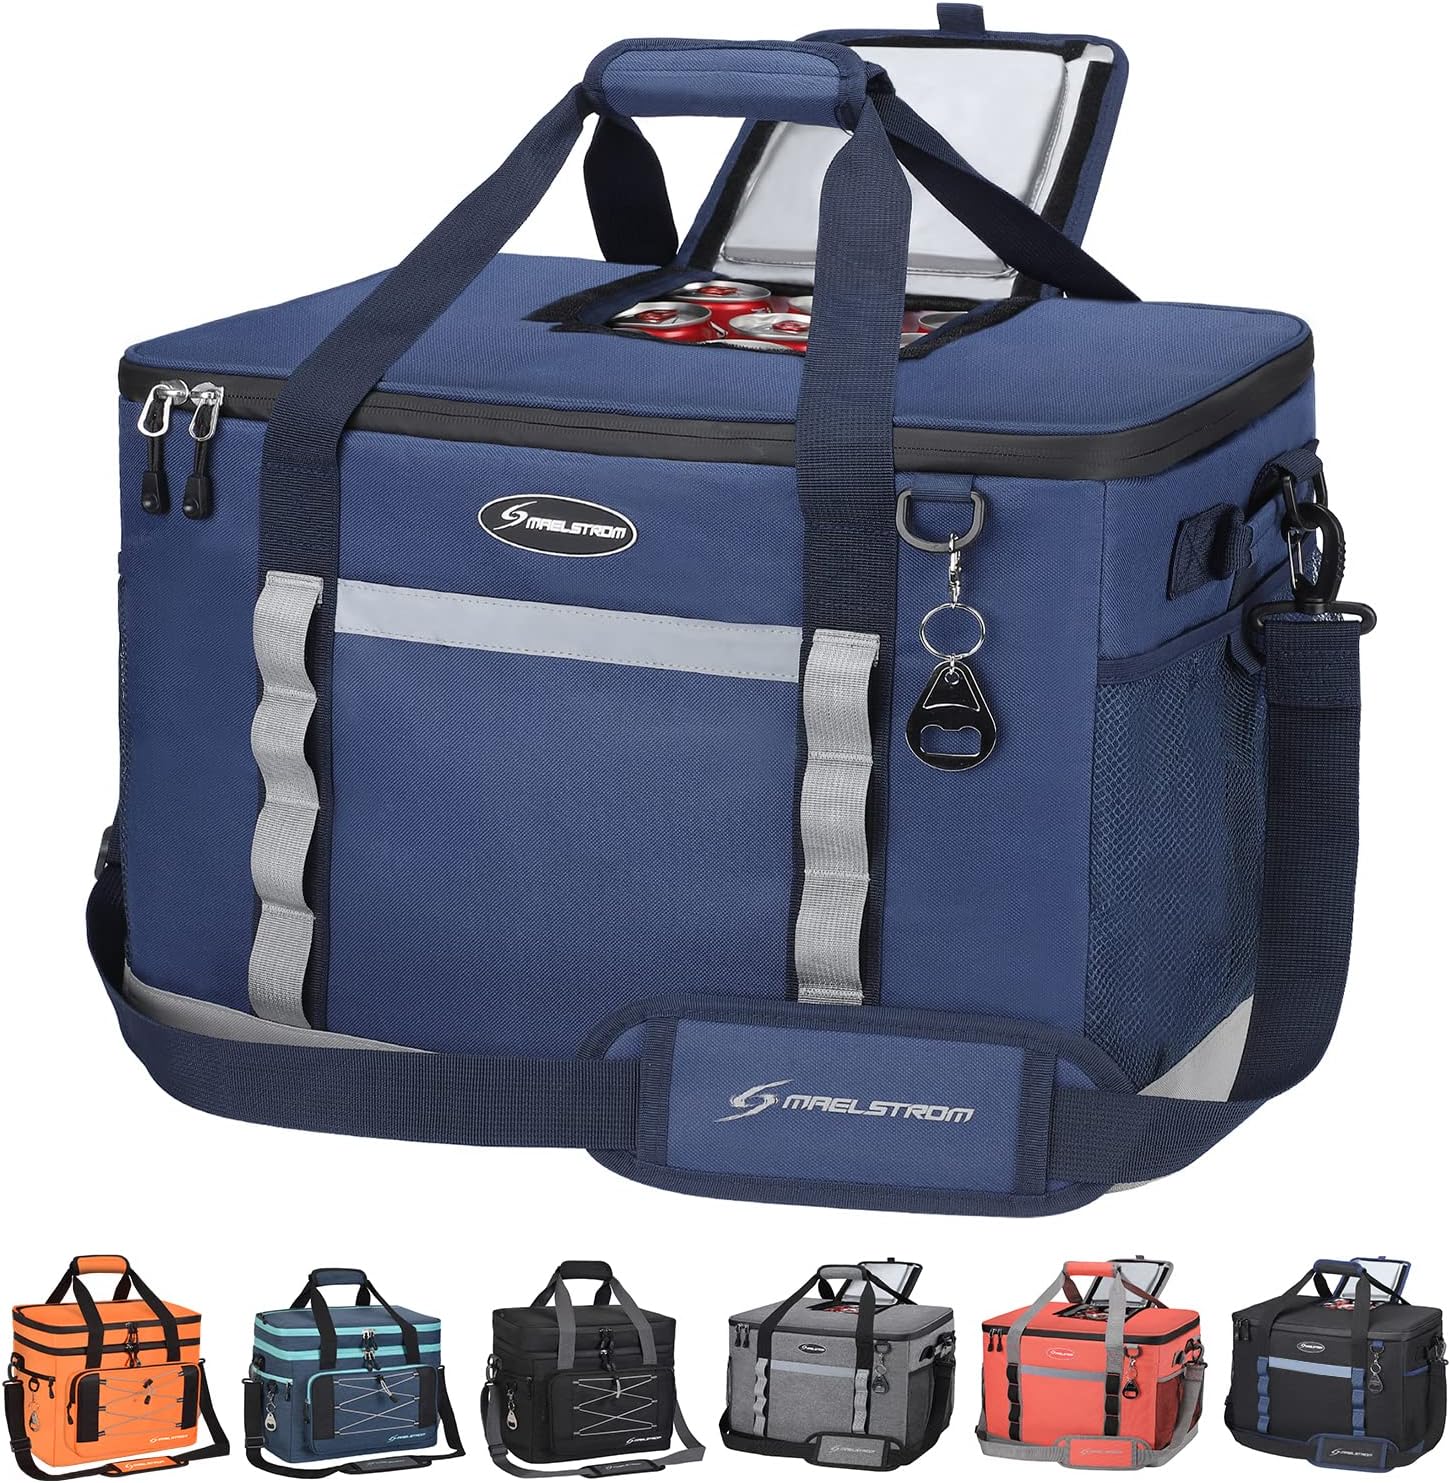
Best for the carry: Maelstrom Soft Cooler Bag, 35/55/75 Can Beach Cooler with Flip-top Access
 Visit on Amazon →
Check current Amazon price. The feature that earns this bag its place is right there in the name: flip-top access. On any cooler, the lid is where the cold escapes, and every second it stays open is ice you will not get back. A flip-top hatch lets you grab a drink or a sandwich without peeling the whole top off and letting the cold air pour out into the sun. That is not a gimmick. That is the single most useful thing you can build into a bag you will open 30 times a day.
The 35, 55, and 75 can sizing covers the range most people actually need. The small one is a lunch and a six-pack for two people. The big one is a full day on the water for a group. Soft-sided means it packs down flat in the off-season, rides in the truck bed without sliding around, and carries over the rocks from the landing to the boat without a second trip.
Here is the honest limit, and I will not pretend otherwise: a soft bag is a day-trip tool. If your trip is three days with real food and you need ice on Sunday, that is rotomolded box work, not bag work. Buy this for the boat lunch, the beach, the tailgate, and the day hike, and it will do exactly what you paid it to do.
Flaws but not dealbreakers: Soft walls give up ice retention to a hard box. That is physics, not a defect. It also has no cupholder, which in my book is a feature, because a cooler with cupholders is a lunch box with a marketing budget.
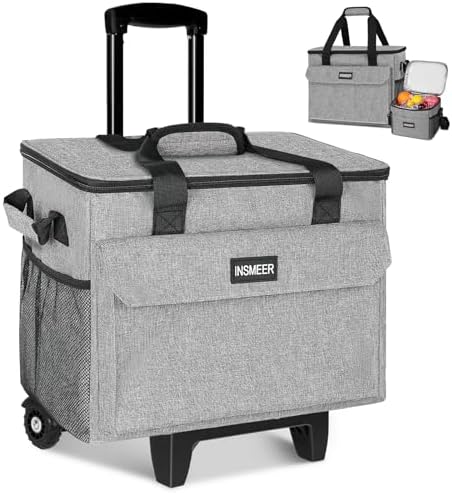
Best when you cannot carry it full: INSMEER Rolling Cooler with Lunchbag, 50-Can Collapsible Cooler with Wheels
 Visit on Amazon →
Check current Amazon price. A cooler you cannot lift when it is full is a dock ornament, and the answer to that problem is wheels. The 50-can capacity puts this in the range where a loaded cooler gets genuinely heavy, and the rolling design means you are not making three trips from the truck to the picnic table with your arms screaming.
The collapsible construction matters more than people think. Most coolers live in a garage and take up the footprint of a small appliance all year. A collapsible cooler folds down and disappears onto a shelf, which means you will actually keep it in the truck instead of leaving it at home because it is in the way.
The included lunchbag is the quiet win. Keep the sandwiches, the chips, and anything that should not swim in meltwater in the lunchbag, and keep the drinks and the ice in the main compartment. That separation is worth more than any insulation upgrade, because soggy food is what ruins a trip long before the ice runs out.
Flaws but not dealbreakers: Wheels are for pavement, boardwalk, and packed sand. They do not do talus, mud, or a portage, and anyone who tells you otherwise has never dragged a cooler up a rocky shore. It is also soft-sided, so treat it as a day cooler, not a three-day ice box.
The packing workflow
Now the part you came for. This works with any cooler you own, and it works better with a good gasket.
Step one: Chill the cooler before the food. The night before you leave, throw a bag of ice or a few frozen water bottles into the empty cooler and close it. A cooler that starts at 70 degrees eats its first bag of ice just getting cold. Dump the meltwater in the morning and you start the trip with a cold box instead of a warm one.
Step two: Chill the food. Everything goes in fridge-cold, not room temperature. A warm casserole in a cold cooler is a heater. If you are packing for a trip, buy the food a day early and let it sit in the fridge overnight.
Step three: Go heavy on block ice. My rule is two parts block ice to one part cubes. Block ice is the marathon runner. Cubes are the sprinter. Cubes give you fast cold and then vanish, while a block will still be a block on Sunday morning. If you cannot find block ice, freeze gallon jugs of water and use those.
Step four: Freeze what you can eat later. Frozen water bottles, frozen steaks, and frozen chili all do double duty as ice. They thaw slowly and they are dinner on night two. Just keep raw meat double-bagged so nothing leaks onto anything you will eat cold.
Step five: Fill the air gaps. Air is the enemy. Every empty pocket of air is space the cold has to fight through. Crumpled newspaper, a clean towel, or a second bag of ice packed into the corners all work. A full cooler holds ice far better than a half-full one.
Step six: Layer it right. Block ice on the bottom, food in the middle, cubes or a frozen towel on top. The block holds the base cold for days, the cubes give you the fast chill on top, and the food sits in the middle where the temperature is most stable.
Step seven: Test the drain plug. Before the trip, not during. Fill the cooler with an inch of water, close the plug, and set it on a paper towel for 20 minutes. If the towel is wet, you found your leak in your kitchen instead of on a boat.
Step eight: Keep the lid shut. Every open costs ice. Put the drinks in their own bag so people are not digging through the food cooler 40 times a day. The flip-top hatch on the Maelstrom bag exists for exactly this reason, and it is why I like it.
Step nine: Shade and insulation. Direct sun on a cooler lid is a slow melt. Keep it in the shade, throw a wet towel or a blanket over it, and get it off hot pavement or a black truck bed liner. A piece of plywood or a foam pad underneath helps more than people expect.
The competition and why it lost
Rotomolded hard coolers are the real three-day tool, and I say that as someone who recommends them constantly. They are heavy, they are expensive, and they hold ice like a promise kept. If you fish, camp, or tailgate more than 10 days a year, one belongs in your garage. They just are not what this guide is about, because you cannot carry one across a beach and you cannot fold one onto a shelf.
Thin-walled cheap coolers with a cupholder molded into the lid are lunch boxes pretending to be coolers. They are fine for a two-hour picnic and useless for anything longer. If it has cupholders, it is not a cooler.
Hard-sided wheeled coolers are a real category, and they solve the same last-100-yards problem as the rolling bag here, but they are heavy when full and they take up the same garage space as a hard box. They make sense if you never lift them and never fold them. The collapsible option makes more sense if the cooler has to live in a closet.
Electric coolers are a different conversation entirely. They need power, which means a truck outlet or a battery bank, and that is a separate guide for a separate trip.
What this all costs
Here is how I think about the money. A soft cooler bag costs a fraction of a rotomolded box, and it will cover the majority of the days most people actually use a cooler: the boat lunch, the beach afternoon, the tailgate, the picnic. A rolling cooler costs a little more than a plain bag and buys you the ability to move a full load without a second trip, which on a hot day is worth real money in sweat alone.
Check current Amazon price on both and do the per-day math on your own season. If you use a cooler 25 days a year, either one of these pays for itself in the first summer compared to buying ice every single trip. If you are a 40-day-a-year person with a boat and a freezer full of walleye, add a rotomolded box to the lineup and use the bag for the short trips.
The gear is the easy part. The sequence is what separates a cooler that holds ice from a cooler that lies to you. Pre-chill, block ice, fill the gaps, keep the lid shut, and check the plug before you leave the driveway.
A cooler is a promise. Pack it like you mean it.