Cooler ice retention is a math problem with three inputs: how cold the box starts, how much cold mass is inside it, and how often the lid comes off. Get those three right and a mid-tier cooler still has ice on Sunday morning. Get them wrong and a premium rotomolded box is full of lukewarm water by Friday noon.
I guide on Lake Superior, so my trips run three days, the sun is not gentle, and there is usually a client's catch riding in the box. What follows is the routine I run before every trip, plus the two pieces of gear that carry most of the load.
Why you should trust me
Fifteen years guiding on Lake Superior means fifteen years of packing coolers in a parking lot at 5 AM with the wind coming off the water. I have ice-fished, kayak-fished, and boat-fished out of every major cooler brand, and I have watched cheap boxes turn a full day's catch into a warm, sad smell by early afternoon.
My test is boring and repeatable: a load of ice, a temperature log that starts Thursday at 6 AM and ends Sunday, and real food opened the way real people open a cooler. I do not recommend a box I have not run through that log, and I do not repeat a manufacturer's ice claim that the log does not support. Ice retention is the only spec that matters. Everything else is a handle and a hinge.
How I picked and how I tested
For this guide I looked at the parts of the system that decide whether ice survives: the gasket seal, the latch, the cold mass, and the size of the box relative to how you actually move it. A cooler is a promise, and most of them lie somewhere, usually at the latch or the drain plug.
I checked gasket seating around the full rim, latch tension, drain plug seals, and whether the lid closes cleanly with one hand. Then I looked at honest sizing. A cooler you cannot lift when it is full is a dock ornament, no matter how good its ice retention number looks on the box.
The numbers I trust: a box that still holds ice past 72 hours with real opening is doing its job. Anything that dies on day two is a lunch box with a lid. And the gasket is the whole game. A warped gasket is a cooler that lies to you, and no amount of block ice fixes it.
The gear that does the heavy lifting
Two things decide whether your routine works: the box itself and the seal that closes it. Here is what I would put in the truck for a three-day trip.
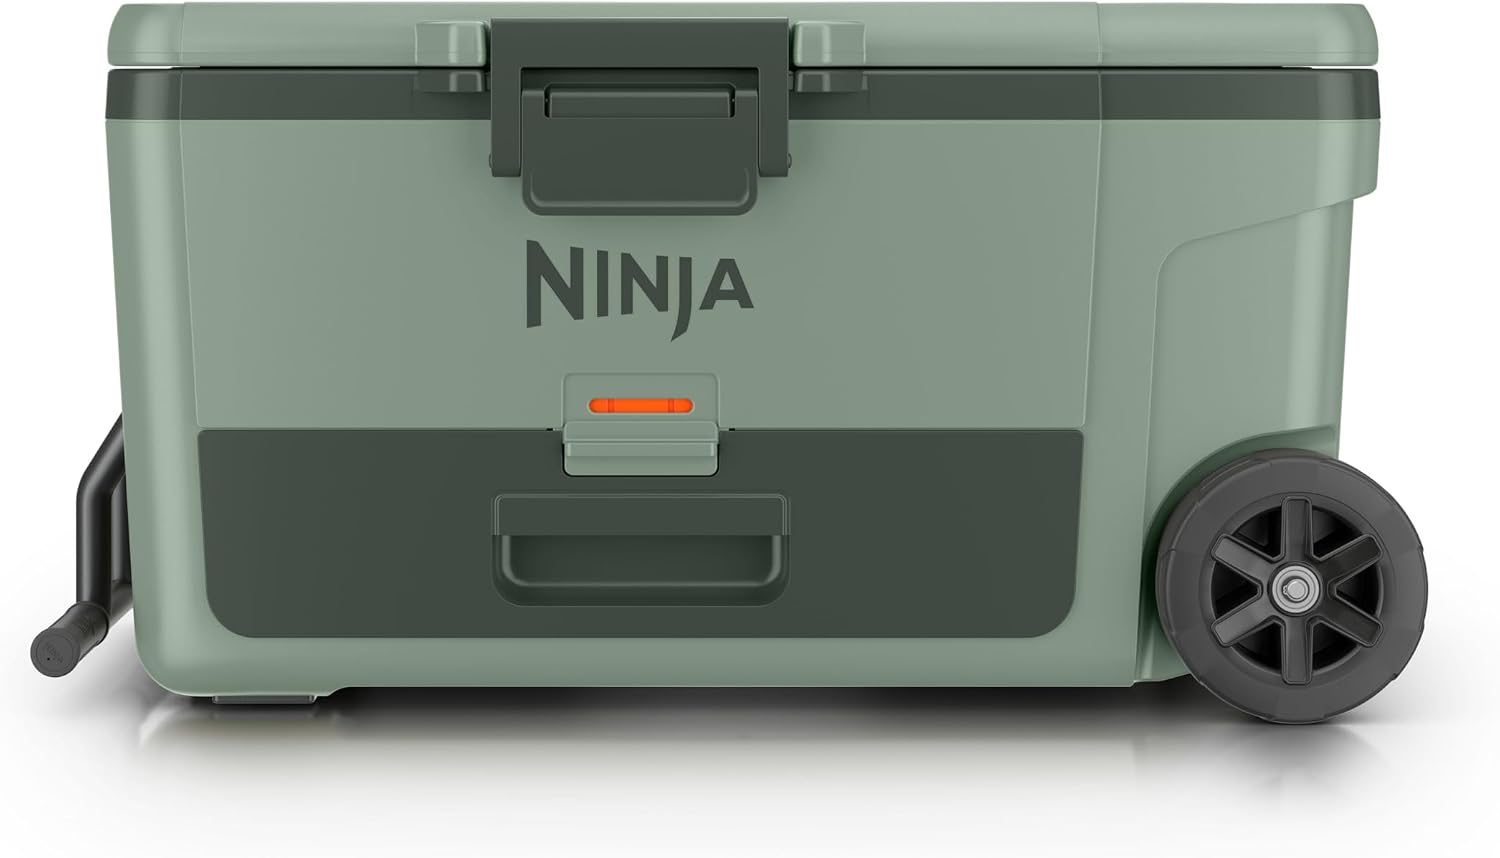
The long-trip workhorse: Ninja FrostVault™ 65qt Cooler with Wheels, Dry Storage, Spanish Moss
 Visit on Amazon →
Sixty-five quarts is the honest size for a three-day trip for two or three people who are packing food and not just drinks. It is big enough that you can leave dead air out of the equation, which matters more than most people realize. A packed cooler holds ice. A half-empty cooler is a race against warm air.
The wheels are the part I care about most, because at this capacity you are not carrying it far. Loaded down, this is a two-person lift into a truck bed, and the wheels and handle are what get it from the tailgate to the ramp without a stop halfway. The dry storage compartment is the other feature that earns its place on a trip: bread, chips, a phone, and the truck keys stay out of the meltwater, which is the difference between a sandwich on day two and a sponge.
Spanish Moss is the colorway, and it hides boat ramp dirt better than white. What I would watch: wheels are for pavement, gravel, and ramps, not sand or deep mud. And the dry storage takes a bite out of usable interior volume, so plan the packing list before you assume everything fits.
Flaws but not dealbreakers: It is heavy before you put anything in it. If your routine is carrying a cooler down a steep bank by yourself, buy smaller and accept more trips.
Anyone running multi-day trips with food and a couple of people will get their money out of this box. Check current Amazon price.
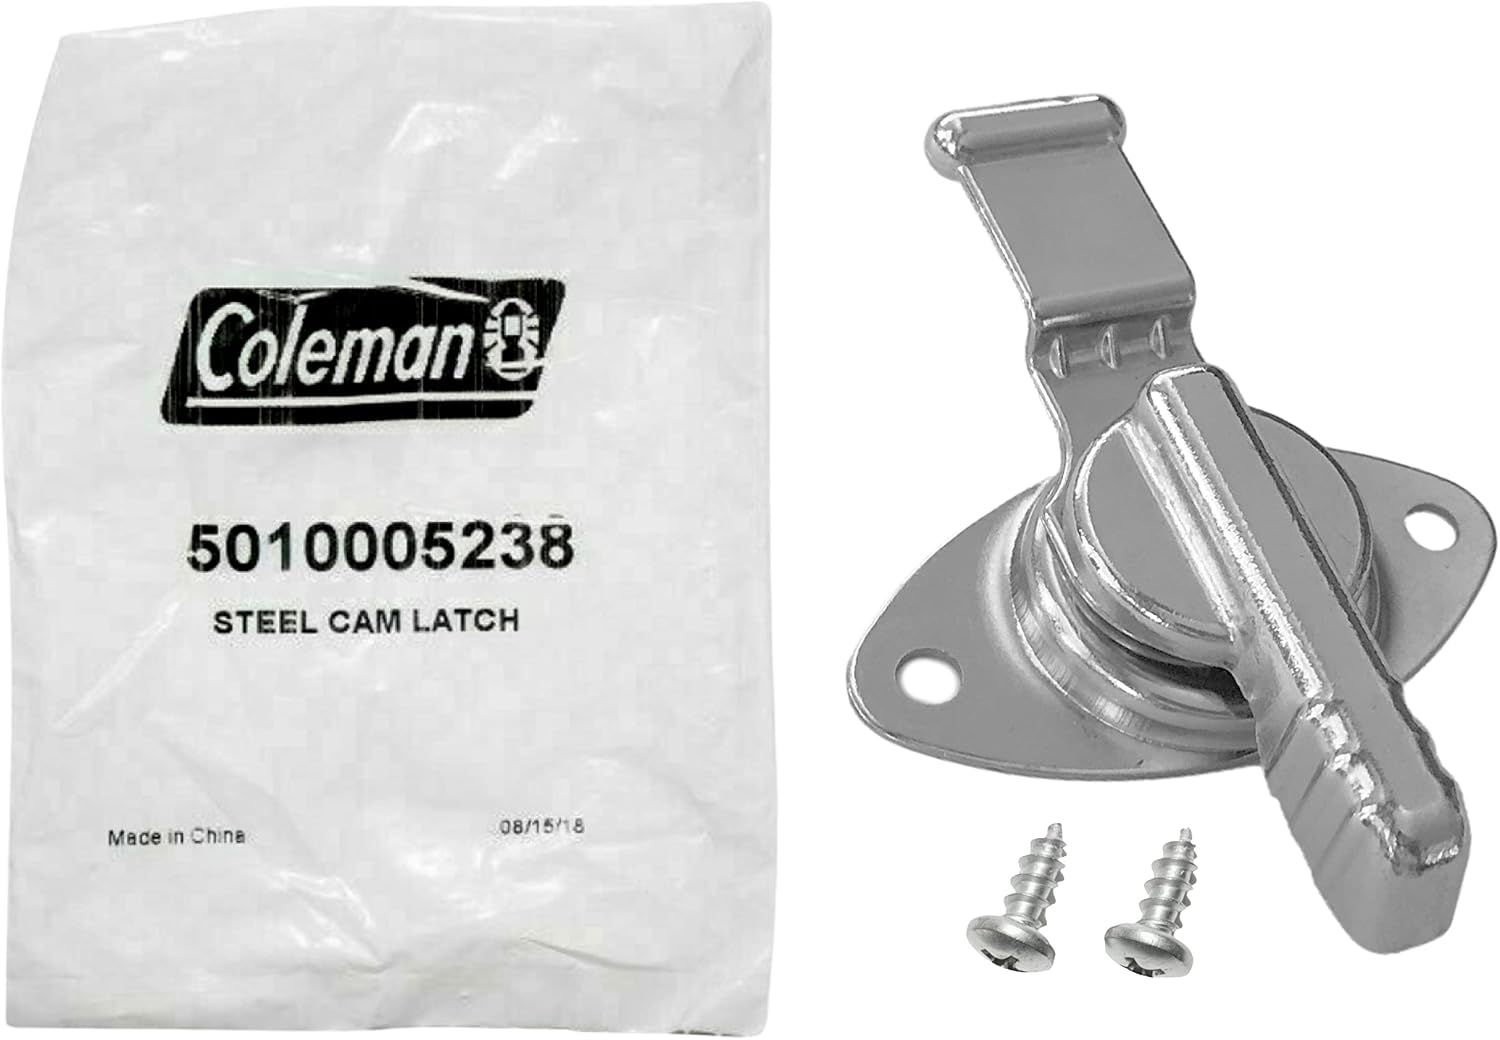
The latch that keeps the promise: Coleman Steel Cam Latch
 Visit on Amazon →
Latches are where coolers fail quietly. A stretched latch or a cam that no longer pulls the lid down tight lets the lid ride up a fraction of an inch, and a fraction of an inch is all warm air needs. If your lid does not pull down with resistance, replace the latch before you blame the ice, the sun, or the box.
This is the steel cam latch replacement for Coleman coolers built around that design. Steel instead of plastic is the point. Plastic clips are the first thing to pop on a rough road, and a latch that pops open at 60 mph on a washboard gravel road ruins a trip faster than anything else in this guide. I keep spares in the truck for exactly that reason.
Flaws but not dealbreakers: It is not a universal part, so check your model before ordering. Installation takes a screwdriver and about ten minutes, and if your original screws are rusted out you will want your own hardware.
Anyone running an older Coleman box who has noticed the lid not seating should start here. Check current Amazon price.
The actual routine
Now the part you came for. Nine steps, spread across the two days before you leave.
Step one: pre-chill the box. A cooler that starts at 70 degrees eats your first bag of ice. The night before a trip I put a sacrificial bag of ice in the box, close the lid, and let it sit. By morning the walls are cold and the sacrificial ice is mostly water. Dump it. Now you are packing into a cold box instead of fighting a warm one.
Step two: block ice on the bottom, cubes on top. Block ice melts slower because there is less surface area exposed to moving air. Cubes go on top to fill the gaps around your food. The cubes are the ice you actually use, so let them go first.
Step three: freeze everything you can. Frozen meat, frozen water bottles, frozen soup. They are cold mass first and dinner second. A cooler packed with frozen food holds ice longer than a cooler packed with cold drinks, because drinks get pulled out and never go back in.
Step four: kill the dead air. Dead air is the enemy. A half-full cooler melts faster than a full one because the empty space is full of warm air that recirculates every time you open the lid. Fill the gaps with a towel, a fleece, or a few frozen bottles.
Step five: lid discipline. Know what you want before you open it. One person opens, one person grabs, lid closes. On a hot day every open lid costs you ice life, and the guy who stands there staring into the box is the reason you are out of ice on Sunday.
Step six: test the drain plug before the trip. I have forgotten this one, and it cost me a day of ice. Fill the cooler with an inch of water in the driveway, tilt it, and watch the plug. If it weeps, replace it before you load the truck.
Step seven: check the latch and the gasket. Run a finger around the gasket and look for a spot that does not seat. The lid should pull down with resistance. If it does not, that is your leak, and it is usually the latch.
Step eight: shade and a wet towel. A great cooler sitting in a truck bed in full sun is still a cooler in full sun. Shade first, then a wet towel or a blanket over the lid. Evaporation is free cooling.
Step nine: do not drain the water during the trip. Cold meltwater is cold mass. Draining it every morning throws away the coldest thing in the box. Keep the food sealed, keep the water, and drain at the end.
Mistakes that kill ice retention
Warm drinks loaded straight from the garage. Every one of them is a heater you paid for.
Buying bigger than you can lift. If it lives in the truck bed because nobody can move it, it is furniture.
Cupholders. If a cooler has cupholders, it is a lunch box, and it belongs at a picnic, not on a three-day trip.
Trusting the ice claim on the lid. That number was measured in a lab with the lid closed. Your trip has the lid open.
Leaving it in the sun while you fish. Move it into shade before you launch, not when you get back.
Opening it every hour for a beer. Every open is a withdrawal. Budget them, and put the drinks you plan to drink in a separate small box.
Skipping the pre-chill. This is the cheapest fix on the list and the one most people skip.
The competition and why it lost
Rotomolded boxes from the big names are excellent, and yes, they hold ice. This article is not about which one to buy. It is about the routine that makes any of them work, and a rotomolded box with a warped gasket still loses to a cheap box with a good seal.
Soft-sided coolers are a different tool. They are for a day on the water and a sandwich, not a three-day trip with food and a catch.
Injection-molded budget boxes are fine for tailgates and picnics, and their "five-day" claims are optimistic at best. The physics does not care about the marketing. Cold mass in, lid closed, shade, and a seal that actually seals.
What this all costs
The wheeled 65-quart box is the line item here, and the cam latch is a parts-counter purchase. Check current Amazon price on both before you decide.
Run the math on days per year, not on the sticker. A cooler you use ten days a season pays you back in fish that did not spoil and ice you did not have to buy at a gas station at resort prices. A cooler you use twice a year does not, no matter how good it is.
Ice retention is not a spec you buy. It is a habit you run. Pre-chill the box, pack it full, keep the lid closed, and check the seal before you leave the driveway. Do that and your ice is still there on Sunday.